Guide
How to Test Correctly
Learn how to test correctly for CPU stability and performance. This guide will help you use CPU Stress Test to verify your processor’s limits and diagnose issues.
Updated 2026-07-05
Understanding How to Test Correctly
Testing your CPU is not just about running any stress tool, it is about following a process that reveals both strengths and weaknesses of your processor under real-world and synthetic loads. Whether you are overclocking, troubleshooting crashes, or simply curious about your CPU’s health, knowing how to test correctly could save you hours of frustration and even prevent hardware damage.
The CPU Stress Test tool available at SystemRequirements.net provides a safe, browser-based way to push your processor to its limits. When used correctly, it helps identify thermal throttling, stability under load, and the effectiveness of your cooling system. However, simply clicking 'start' and waiting is not enough. You need a strategy tailored to your hardware and your goals.
Factors like ambient temperature, current system workload, and even recent Windows updates can affect your results. That is why it is critical to document your environment and settings before you start. This ensures that your results are reproducible and meaningful. By understanding what your CPU is capable of, you can confidently make decisions about overclocking, cooling upgrades, or troubleshooting recurring problems.
Step-by-Step: How to Test Correctly with CPU Stress Test
To get reliable and actionable results from any CPU stress tool, you need a structured approach. This means testing in stages, monitoring key metrics, and knowing when to stop. CPU Stress Test is designed for both beginners and advanced users, but the methodology you follow is what truly determines your success.
Start by defining your goal: Are you checking for stability after a new overclock, or are you trying to diagnose random system crashes? Your answer will guide how long to run the test and which settings to use. Before starting, close all unnecessary programs to free up resources. This ensures that CPU Stress Test receives the full attention of your processor and that background tasks do not skew your results.
As the test runs, monitor your CPU temperatures using a separate tool. Most modern CPUs will throttle or shut down if temperatures approach dangerous levels, but it is best to be proactive. Record your temperature, clock speed, and any errors or crashes. If you are stress testing after an overclock, it is wise to start with lower intensity and gradually increase the load. This helps pinpoint the exact moment instability occurs, making troubleshooting easier.
After each test, allow your CPU to cool down before running another. This reduces thermal fatigue and ensures that each run is a fair evaluation. Always review your results against manufacturer specifications and your system’s baseline performance. If you notice a sudden drop in performance or a spike in temperatures, investigate before proceeding. Remember, testing correctly is not just about pushing limits, it is about learning from each session and adjusting your approach.
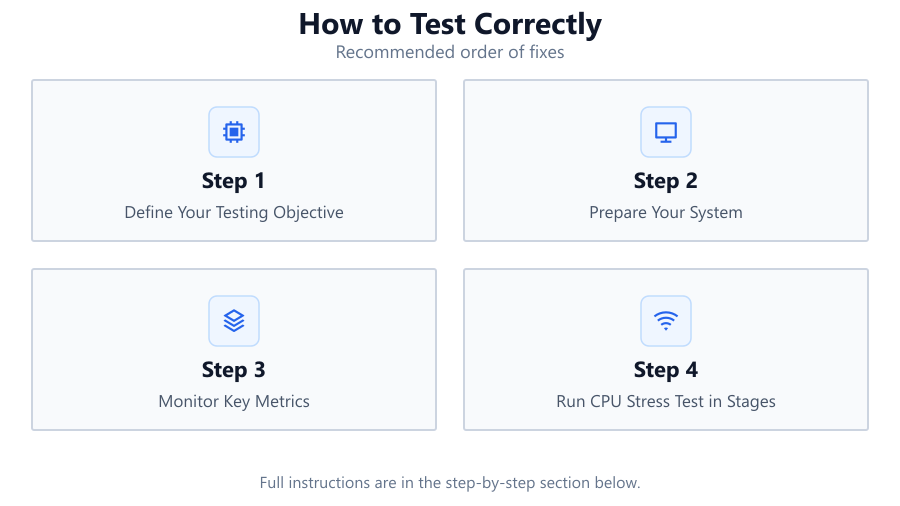
Step-by-step
Define Your Testing Objective
Decide whether you are testing for overclock stability, diagnosing random crashes, or benchmarking your current setup. Clear goals help you choose the right settings and duration for CPU Stress Test.
Prepare Your System
Close all unnecessary apps and background processes. Update your BIOS and chipset drivers if needed. Set your CPU settings to baseline unless you are testing an overclock.
Monitor Key Metrics
Use a hardware monitoring tool to track CPU temperature, voltage, and clock speed during the test. This helps you spot issues like thermal throttling or voltage drops.
Run CPU Stress Test in Stages
Start with a short, low-intensity test. If stable, gradually increase both duration and intensity. Record results after each stage to identify patterns or emerging issues.
Interpret Results and Adjust
Compare your data to baseline readings and manufacturer specs. If you encounter errors or high temperatures, adjust your cooling or CPU settings before retesting.
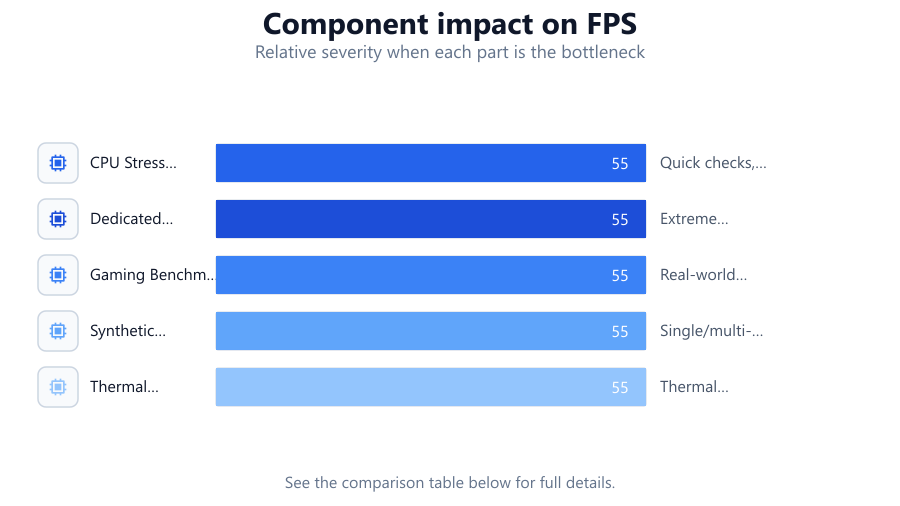
Comparison
| Test Method | Duration | Best For |
|---|---|---|
| CPU Stress Test (Browser) | 5-30 min | Quick checks, accessibility |
| Dedicated Software (Prime95) | 30-240 min | Extreme stability, overclocking |
| Gaming Benchmark | 15-60 min | Real-world gaming loads |
| Synthetic Benchmark (Cinebench) | 5-20 min | Single/multi-core scores |
| Thermal Test (OCCT) | 10-60 min | Thermal limit evaluation |
Common mistakes
Mistake
Ignoring background applications during testing
Fix: Close all non-essential programs to prevent interference and get accurate results.
Mistake
Running tests for too short a period
Fix: Aim for at least 15-30 minutes for stability checks, longer for overclock verification.
Mistake
Not monitoring temperatures or voltages
Fix: Always watch your CPU temps and voltages using a monitoring tool during every stress test.
Mistake
Failing to document test conditions
Fix: Write down your system settings, ambient temperature, and test configuration for reliable comparison.
Troubleshooting
System crashes or reboots during test
Likely cause: Insufficient voltage, unstable overclock, or overheating
What to do: Lower your overclock, improve cooling, or increase voltage within safe limits.
CPU temperatures spike rapidly
Likely cause: Poor CPU cooler contact, dried-out thermal paste, or inadequate airflow
What to do: Reapply thermal paste, reseat cooler, or improve case ventilation.
Test reports errors but system does not crash
Likely cause: Marginal CPU instability or minor hardware faults
What to do: Reduce CPU frequency, check RAM stability, or test with different stress levels.
Recommendations
- Always monitor your CPU temperature during any stress test.
- Document your system settings and test environment for consistency.
- Start with short test durations and increase gradually.
- Use CPU Stress Test for quick, accessible checks before moving to longer tests.
- Compare results with your chip’s baseline and manufacturer specifications.
Frequently asked questions
How long should I run a CPU stress test?
For basic stability, 15 to 30 minutes is often enough. For overclocked systems or full confidence, run tests for at least one to four hours using various tools.
Is it safe to use browser-based stress tests like CPU Stress Test?
Yes, CPU Stress Test is designed for safety. However, always monitor temperatures and stop the test if your CPU exceeds safe thermal limits.
What should I do if my system crashes during testing?
Check for overheating, unstable overclock, or insufficient voltage. Restore settings to default and retest, then make incremental adjustments.
Do I need extra cooling to run CPU Stress Test?
A stock cooler is enough for stock speeds, but for overclocking or extended stress tests, a high-quality air or liquid cooler is recommended.