Guide
Optimization Guide
This optimization guide shows you how to prepare your PC for Windows 11, maximize compatibility, and improve system performance for an effortless upgrade.
Updated 2026-07-05
Why Optimization Matters for Windows 11
Upgrading to Windows 11 brings modern features, security improvements, and a refreshed interface. However, not every PC is ready for the transition. Optimizing your system is essential to ensure a smooth upgrade, avoid performance hiccups, and get the most from your hardware.
Before diving into technical tweaks, you need to verify if your hardware meets Microsoft’s requirements. This is where the Windows 11 Compatibility Checker comes in. It quickly scans your PC for crucial components like TPM 2.0, Secure Boot, memory, storage, and CPU support. Skipping this step can lead to upgrade failures or poor performance post-installation.
Optimization extends beyond meeting the bare minimum. A well-prepared PC delivers faster boot times, smoother multitasking, and enhanced stability. Whether you are a gamer, content creator, or office worker, following this optimization guide will help you unlock the full potential of Windows 11.
Optimizing ensures that your system not only qualifies for Windows 11 but also runs it efficiently. From hardware checks to software tuning, the steps below provide a comprehensive roadmap for a successful upgrade.
Essential Steps to Optimize Your PC for Windows 11
Once you have confirmed compatibility with the Windows 11 Compatibility Checker, it is time to fine-tune your system for the best experience. Optimization involves more than hardware readiness. You should address firmware settings, update drivers, clean up storage, and configure Windows settings for peak performance.
Start by updating your motherboard BIOS or UEFI firmware to the latest version. This often enables features like TPM 2.0 and Secure Boot, which are mandatory for Windows 11. Next, check your system’s memory and storage: aim for at least 8GB of RAM and an SSD for fast load times. If your PC is borderline on specs, consider hardware upgrades before proceeding.
Driver updates are critical. Outdated or incompatible drivers can cause crashes, slowdowns, or missing functionality. Use manufacturer utilities or Windows Update to ensure all device drivers are current. Regularly clean up your storage drive to free up space for the new OS and future updates. Remove unused applications, temporary files, and large downloads that are no longer needed.
Finally, configure Windows settings for efficiency. Disable unnecessary startup programs, adjust power options for performance, and enable security features. Using the Windows 11 Compatibility Checker again after each major change helps you verify readiness and catch any overlooked issues. This proactive approach reduces upgrade risks and sets you up for long-term reliability.
Step-by-step
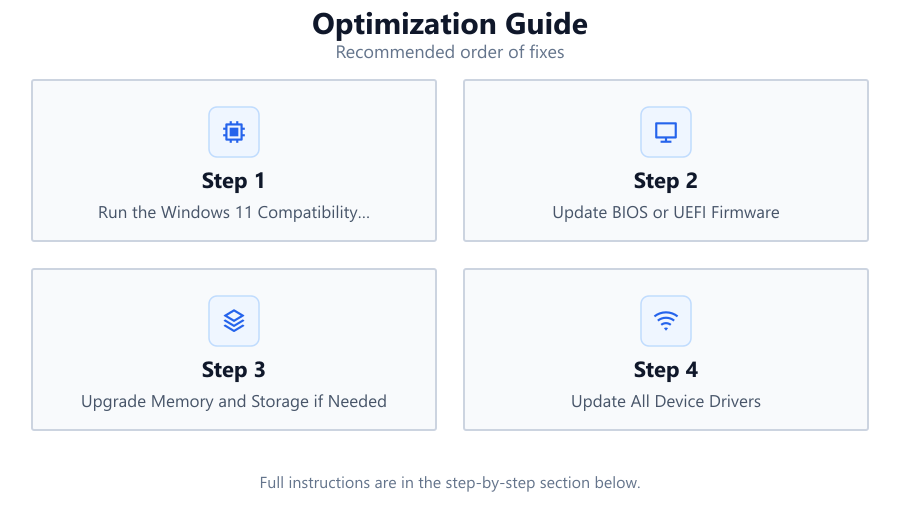
Run the Windows 11 Compatibility Checker
Begin your optimization process by using the Windows 11 Compatibility Checker. This tool quickly assesses TPM 2.0, Secure Boot, memory, CPU, and storage to ensure your system meets all requirements. Address any flagged issues before proceeding.
Update BIOS or UEFI Firmware
Visit your motherboard manufacturer’s website and download the latest BIOS or UEFI firmware. Updating firmware often unlocks features like TPM 2.0 and Secure Boot, which are required for Windows 11. Follow all instructions carefully to avoid firmware corruption.
Upgrade Memory and Storage if Needed
Check your system specs. For smooth Windows 11 performance, aim for at least 8GB of RAM and an SSD with 64GB or more free space. Upgrading these components can dramatically improve speed and responsiveness.
Update All Device Drivers
Outdated drivers can cause compatibility problems and poor performance. Use manufacturer tools or Windows Update to ensure your GPU, chipset, network, and other drivers are up to date. Restart your PC after each major update.
Clean Up and Optimize Storage
Remove unnecessary files, uninstall unused applications, and clear out temporary files. Use built-in tools like Disk Cleanup or Storage Sense to automate this process. This frees up space for Windows 11 and future updates.
Configure Windows Settings for Performance
Disable unnecessary startup programs, adjust power settings to 'High Performance,' and enable security features like BitLocker and Windows Defender. These tweaks help your system boot faster and run more efficiently under Windows 11.
Comparison
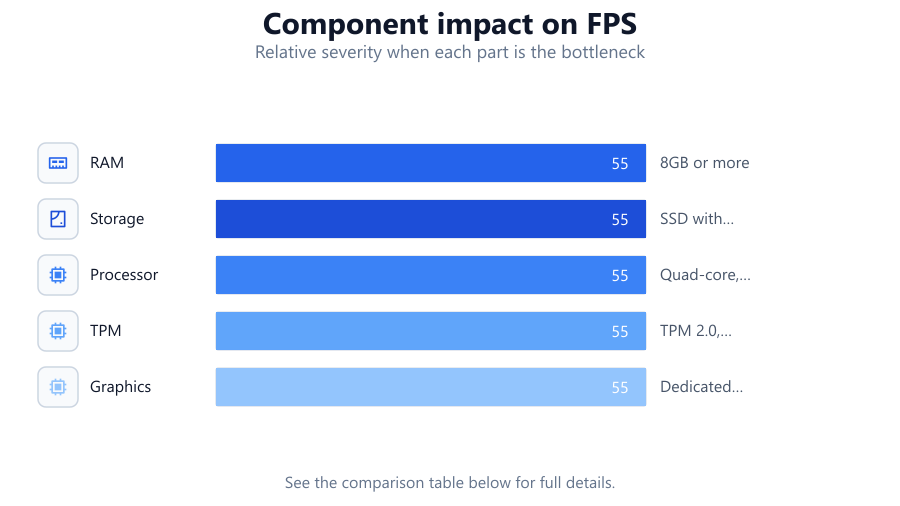
| Feature | Minimum Requirement | Recommended for Optimization |
|---|---|---|
| RAM | 4GB | 8GB or more |
| Storage | 64GB | SSD with 128GB+ free |
| Processor | 1GHz, 2 cores | Quad-core, 2GHz+ |
| TPM | TPM 2.0 | TPM 2.0, enabled in BIOS |
| Graphics | DirectX 12 compatible | Dedicated GPU, latest drivers |
Common mistakes
Mistake
Skipping the compatibility check before upgrading
Fix: Always run the Windows 11 Compatibility Checker to confirm your system meets all requirements before starting the upgrade process.
Mistake
Not updating BIOS or UEFI firmware
Fix: Check your motherboard manufacturer’s site for the latest updates and apply them to enable features like TPM 2.0 and Secure Boot.
Mistake
Ignoring outdated drivers
Fix: Regularly update all device drivers, especially graphics and chipset drivers, to ensure hardware compatibility and system stability.
Mistake
Neglecting to clean up storage before upgrade
Fix: Free up disk space by removing unnecessary files and applications, ensuring there is ample room for Windows 11 and updates.
Troubleshooting
Windows 11 installer reports missing TPM 2.0
Likely cause: TPM is disabled in BIOS or not present
What to do: Enter BIOS settings and enable TPM 2.0. If your motherboard lacks TPM support, check for a firmware update or consider a hardware TPM module.
Secure Boot not enabled
Likely cause: Secure Boot is disabled in BIOS or incompatible boot mode is used
What to do: Switch BIOS to UEFI mode and enable Secure Boot. Save changes and reboot.
Upgrade fails due to insufficient storage
Likely cause: Not enough free space on the system drive
What to do: Delete unnecessary files, uninstall unused programs, and run Disk Cleanup or Storage Sense to free up space.
Performance issues after upgrade
Likely cause: Outdated drivers or insufficient hardware resources
What to do: Update all device drivers and consider upgrading memory or switching to an SSD if performance remains poor.
Recommendations
- Use the Windows 11 Compatibility Checker before making any hardware or software changes.
- Update your BIOS or UEFI and enable TPM 2.0 and Secure Boot for maximum compatibility.
- Upgrade to at least 8GB RAM and use an SSD for noticeably better performance.
- Keep all drivers updated, particularly graphics and chipset drivers, to avoid post-upgrade issues.
- Regularly clean your system storage and optimize startup programs for a faster Windows 11 experience.
Frequently asked questions
Why is the Windows 11 Compatibility Checker important?
It quickly analyzes your PC’s hardware and settings, ensuring you meet all critical requirements for Windows 11. This prevents failed upgrades and helps you plan necessary improvements.
Can I upgrade to Windows 11 if my PC only meets minimum requirements?
Yes, but you may experience slower performance or limited features. Following this optimization guide and meeting or exceeding recommended specs offers a much better user experience.
Do I need to enable TPM 2.0 and Secure Boot manually?
In many cases, these features are disabled by default. You need to enable them in your system’s BIOS or UEFI settings before upgrading to Windows 11.
How often should I run the Windows 11 Compatibility Checker?
Run it before making any major changes and right before upgrading. It is also useful after BIOS updates or hardware upgrades to confirm continued compatibility.